
If you need to conduct vulnerability assessments or need to do some scanning as part of a penetration test you would be doing yourself a disservice if you didn’t include OpenVAS as one of your top tools. This resource was created to help you install OpenVAS and get using it most efficiently.
OpenVAS is the Open Vulnerability Assessment Scanner, developed and maintained by Greenbone Networks. It offers multiple security assessment options, such as authenticated tests, unauthenticated tests, internet protocols verification, industrial protocols validation, and custom vulnerabilities analysis. The OpenVAS scan engine can take a single target IP or range of IP addresses to find vulnerabilities in target hosts. The vulnerabilities are divided into low, medium, and high-level categories using the Common Vulnerability Scoring System (CVSS). A detailed audit report is generated for each scan, showing the discovered vulnerabilities and remediation techniques.
How to Install OpenVAS?
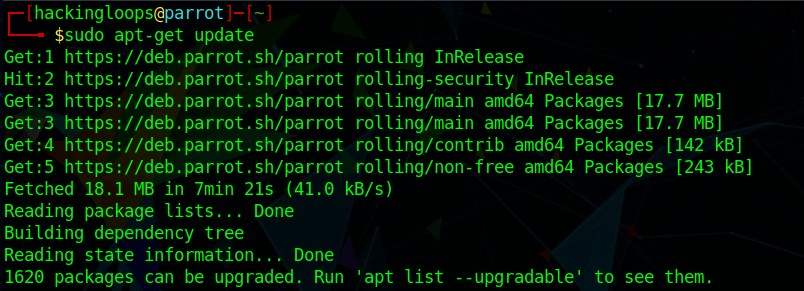
The OpenVAS Linux installation requires OS packages update before installing the scanner. The update process can be completed using the following command.
sudo apt-get update
The next step is to install the OpenVAS scanner using the following command.
sudo apt install gvm –y
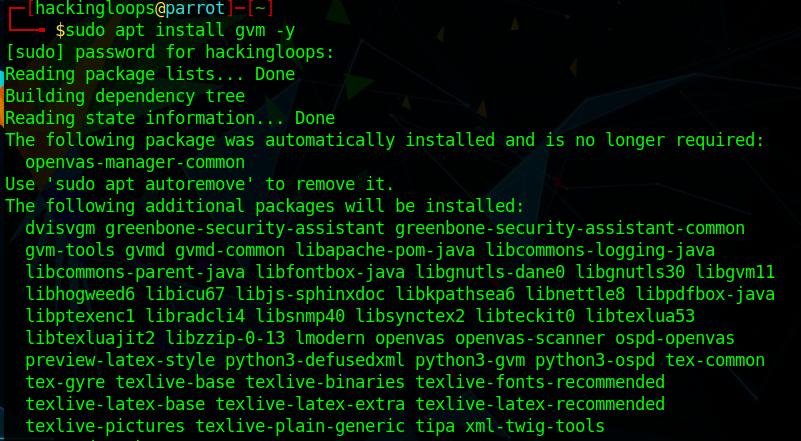
Note: The earlier OpenVAS installations were performed using the ‘sudo apt install openvas –y’ command. However, the installation process has been modified to replace the openvas with gvm.
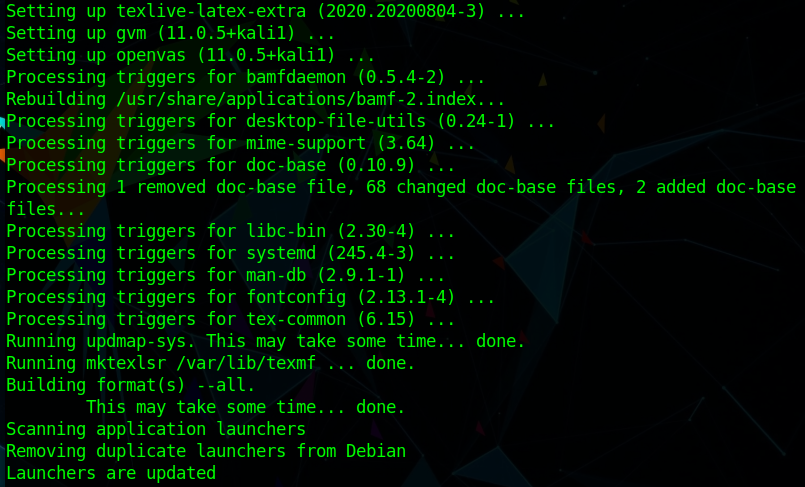
The installation process may take a while to install all the OpenVAS dependencies.
Once the installation process is completed, run the following setup command to auto-configure the scanner.
sudo gvm-setup
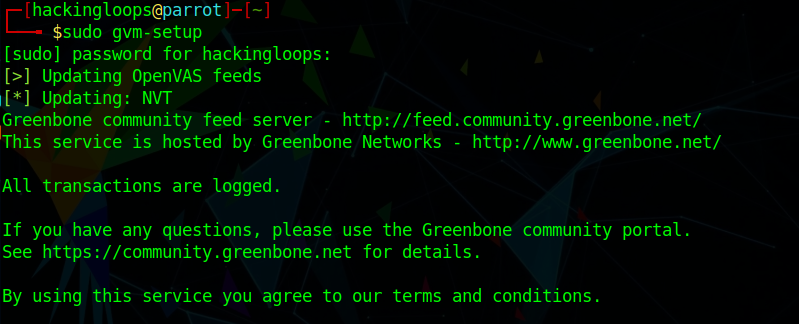
The OpenVAS secret credentials are also generated during the setup process. These credentials are required for the OpenVAS web interface login.

How OpenVAS Works?
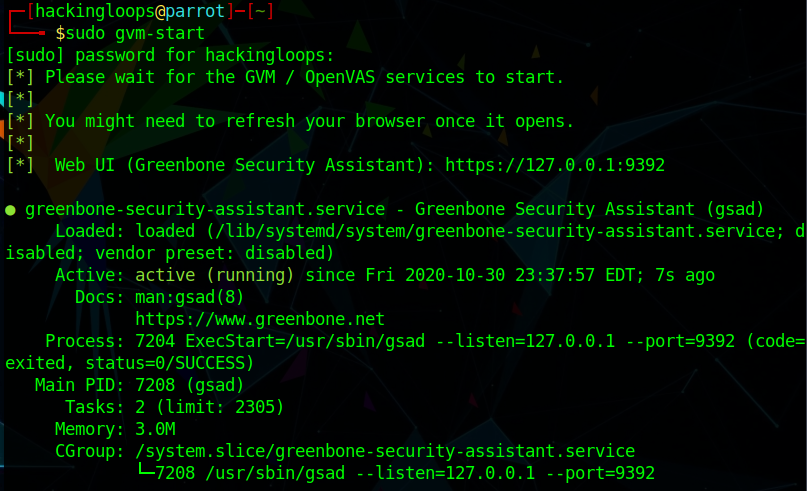
The gvm-start command activates the OpenVAS web User Interface (UI) at 127.0.0.1:9392.
sudo gvm-start
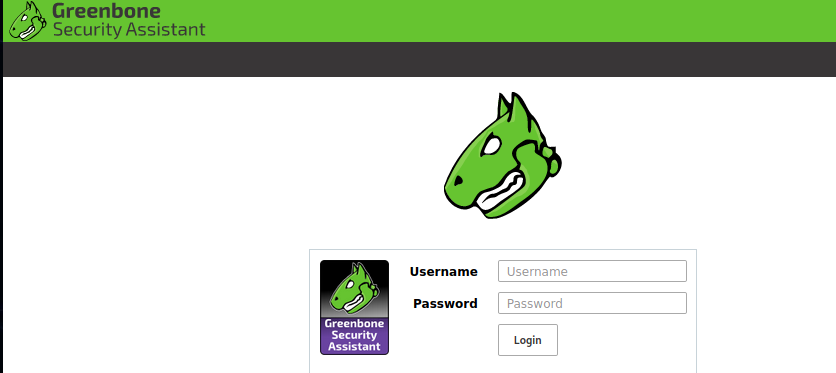
Typing the UI address in the preferred browser opens the following OpenVAS admin page. Provide the credentials obtained during the GVM setup phase to sign in to the OpenVAS dashboard.
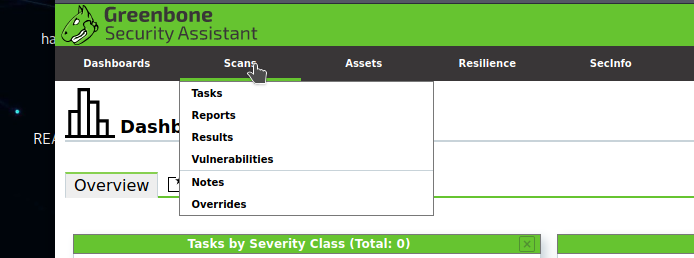
The following screenshot gives a broader overview of the OpenVAS dashboard. The taskbar in the following screenshot shows all important tabs.

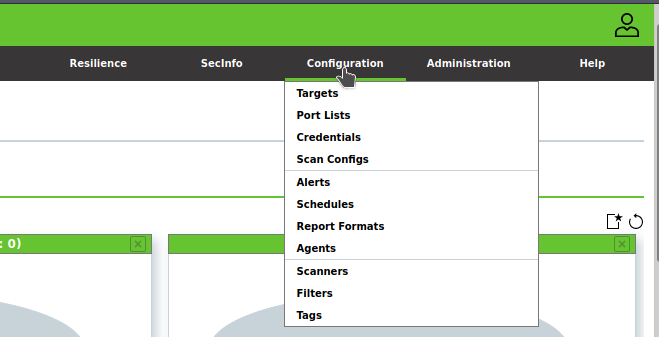
Each tab contains different functions and features populated in a drop-down menu. In order to scan a host or network, the OpenVAS requires the IP or range of IP addresses of the target host/network. Click on the Targets option from the Configuration tab menu as shown in the following snapshot.
The action opens the new target window with multiple configuration options. Provide a name and IP address of the target host machine as shown below.
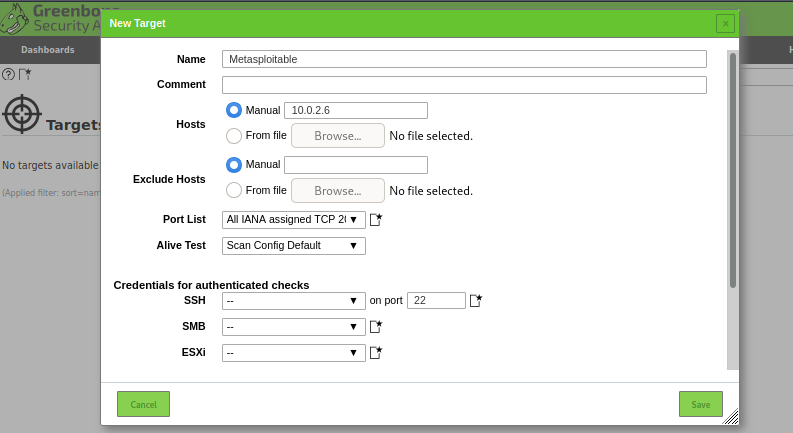
Note: We have used the Metasploitable machine configured at 10.0.2.6 to demonstrate the OpenVAS working.
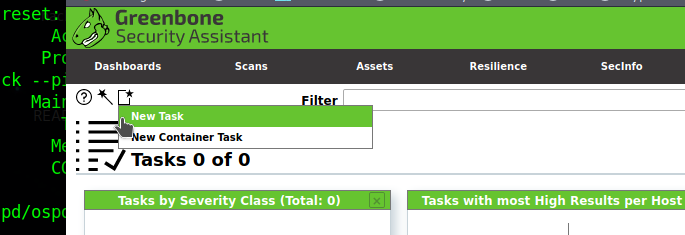
After configuring the target, navigate to the Scans tab and click on the Tasks menu to schedule the scanning process.
Click on the new task option.
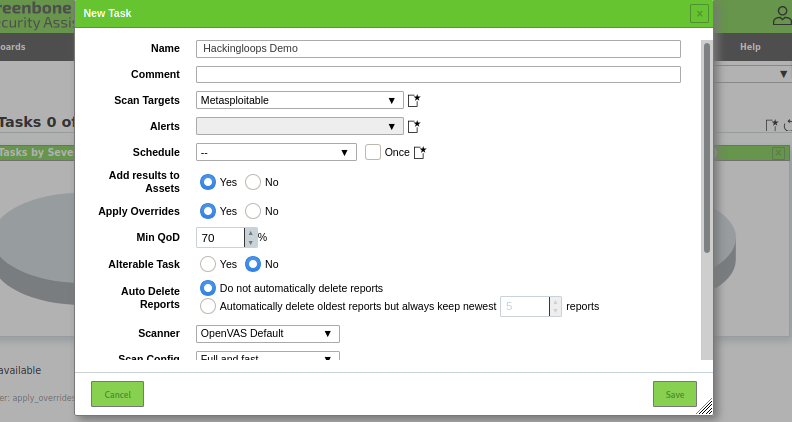
A new task window pops-up with target selection and different scanning options. Select the desired target; provide a name to the newly created task, and save the changes.
Refreshing the Tasks menu shows all the tasks along with their name and status as shown in the fowling screenshot. Although there is an option to schedule the task, we can force start the scanning process by clicking the run button under the Actions column.

The scanning process takes some time, depending on the scope of the used scanning methodology and the target. The task snippet takes the following shape after running all the tests and completing the scanning process.

Clicking the campaign displays an overview of the scanning process and major findings.
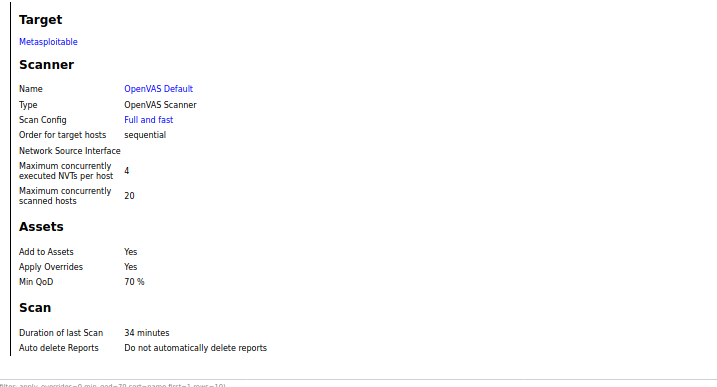
The Results, Vulnerabilities, and Reports are the main sections to explore and analyze the scanning results. A brief summary of these sections is presented below.
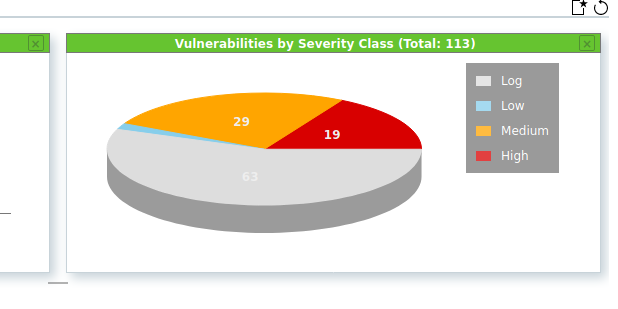
Results: If we click on the Results option, we see a graphical representation of the results classified into low, medium, and high-level vulnerabilities.

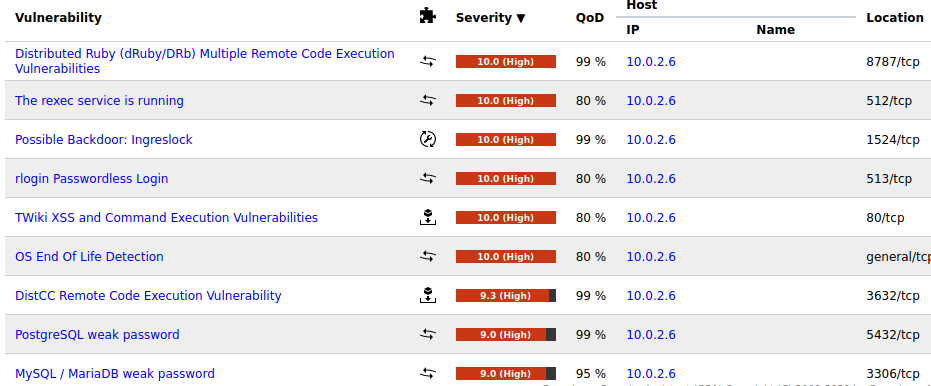
The classified results can further be explored by clicking on the graphs. For instance, if we click on the red-colored portion, all the high-level (severe) vulnerabilities are displayed in the following manner.
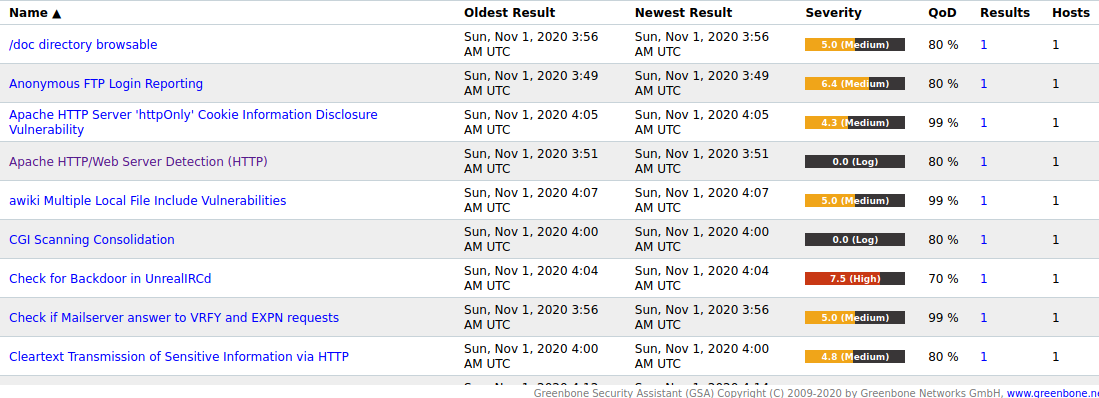
Vulnerabilities: The Vulnerabilities section presents the vulnerabilities in more detail. Different graphs are generated to give a broader overview of the scan results.
The discovered vulnerabilities are recorded in the following format.
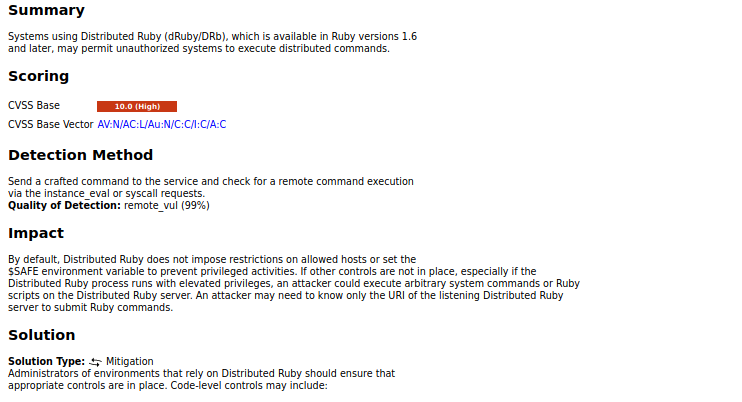
The detailed results about each security breach along with suggested remediation is provided upon clicking a specific vulnerability from the record.
Reports: From the Reports section, we can export the scan results in different formats as shown in the following screenshot.

CONCLUSION
OpenVAS maintains a database of more than 50000 Network Vulnerability Tests (NVTs) feed to keep its scanning capabilities updated and effective against the advanced vulnerabilities. It offers rich scanning options to find security flaws in networks, servers, applications, devices, and internet protocols. The scanner generates in-depth reports to help penetration testers in finding the security bugs and suggest possible mitigation solutions.